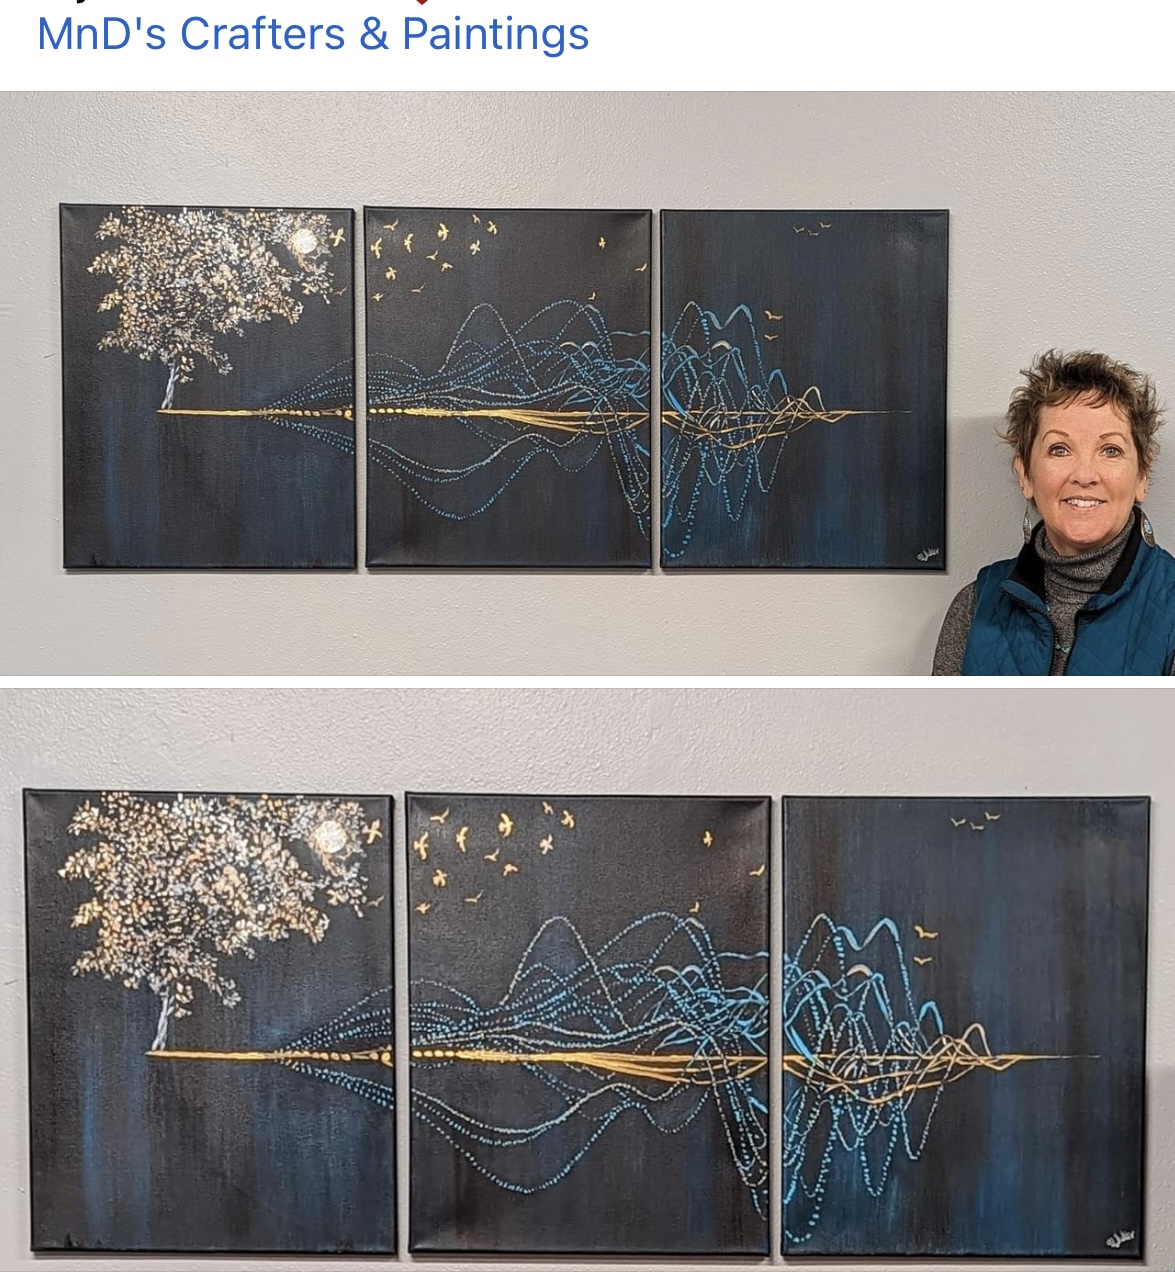
Are you interested in learning how to paint an ultrasound portrait?
- Maureen Salter

- Oct 19, 2023
- 3 min read

Painting an ultrasound portrait can be very rewarding, however, it takes time and practice. I am the only artist in the United States who paints ultrasound portraits and heartbeat tracings. Patience in painting an ultrasound portrait from a tiny electronic image can be taxing yet fun.
Here are some tips that I have found along the way that helped me tremendously.
Step #1 Select the ultrasound image.
Choose the ultrasound image you want to paint. It's essential to have a clear and well-lit image for accurate detailing.
Step #2 Prepare your canvas.
If you're using a canvas, make sure it's primed and ready for painting. If using paper, secure it to a flat surface to prevent warping. "You can only draw and paint what you see". If the ultrasound photo is not very clear but fuzzy, your painting will be the same.
Step #3 Sketch the outside.
Once there is a clear ultrasound photo, then you can draw the basics on your canvas. Lightly sketch the outline of the ultrasound image on your canvas or paper. This will serve as a guide for your painting. Pay close attention to the proportions.
Step #4 Mix your colors.
Analyze the colors in the ultrasound image. You may need to mix various shades of blues and grays for the amniotic fluid and darker tones for the baby's features. Start with a basic palette and adjust as needed. I paint in oils so my ultrasound painting colors can blend. Many times there are areas in the ultrasound that we really don't see because ultrasounds are built from shadows.
Step #5 Paint the background.
Begin by painting the background, typically a pale blue or gray to represent the amniotic fluid. Apply the base layer evenly. Finally, blend in your dark background with the colors you chose for your painting. Most shadows are dark so I blend my background around the ultrasound painting.
Step #6 Work on the fetus.
Start with the basic shape of the fetus. Use your reference image to guide you in placing features like the head, body, and limbs. Build up the detail in layers, starting with a light base coat.
Step #7 Add detail.
Carefully add details such as facial features, the umbilical cord, and any other distinguishing marks or characteristics. Take your time with this step, as accuracy is important.
Step #8 Shading and highlights.
Create depth and dimension by adding shadows and highlights. Observe the reference image to understand where light and shadows fall on the fetus.
Step #9 Fine-tune your painting.
Continuously compare your painting to the ultrasound image and make any necessary adjustments to ensure accuracy.
Step #10 Let it dry.
Allow your painting to dry completely before moving on to any further touch-ups or framing.
Protect Your Artwork.
To preserve your artwork, you can apply a fixative for watercolors or varnish for acrylics. This will help protect it from damage. I protect my work with a clear acrylic coating which is a protective finish that is non-yellowing and moisture-resistant coating and it dries in minutes. When your masterpiece is dry, consider framing it to display as a sentimental piece of art.
Remember that painting an ultrasound portrait may require patience and practice, especially if you're new to painting. Don't be discouraged if it takes a few tries to achieve the level of detail and accuracy you desire. It's a heartfelt way to commemorate a special moment and create a beautiful keepsake. In closing, ask an expert like me or if you don't really know what the ultrasound is showing, contact the Ultrasound Technician, like the ones at EloRose Diagnostic Ultrasounds. View my page on ultrasounds and heartbeat tracings to help you see what I have mentioned.

_JPG.jpg)


Comments